


We game most genres from historical to futuristic including RPGs, and board games.


There are 6 infantry units, 5 skirmishers and 4 artillery batteries painted but the bases are not finished.
I have enough figures for 5 more skirmishers and another infantry unit, and I have not started on the cavalry. This is a pretty good force for the money. The force will have 6 units of 24 figures, 4 artillery and 17 figures of light cavalry.
Figures $71.62
40mmx40mm Bases: $18.50
Shipping: $19.95
Total Spend $110.07

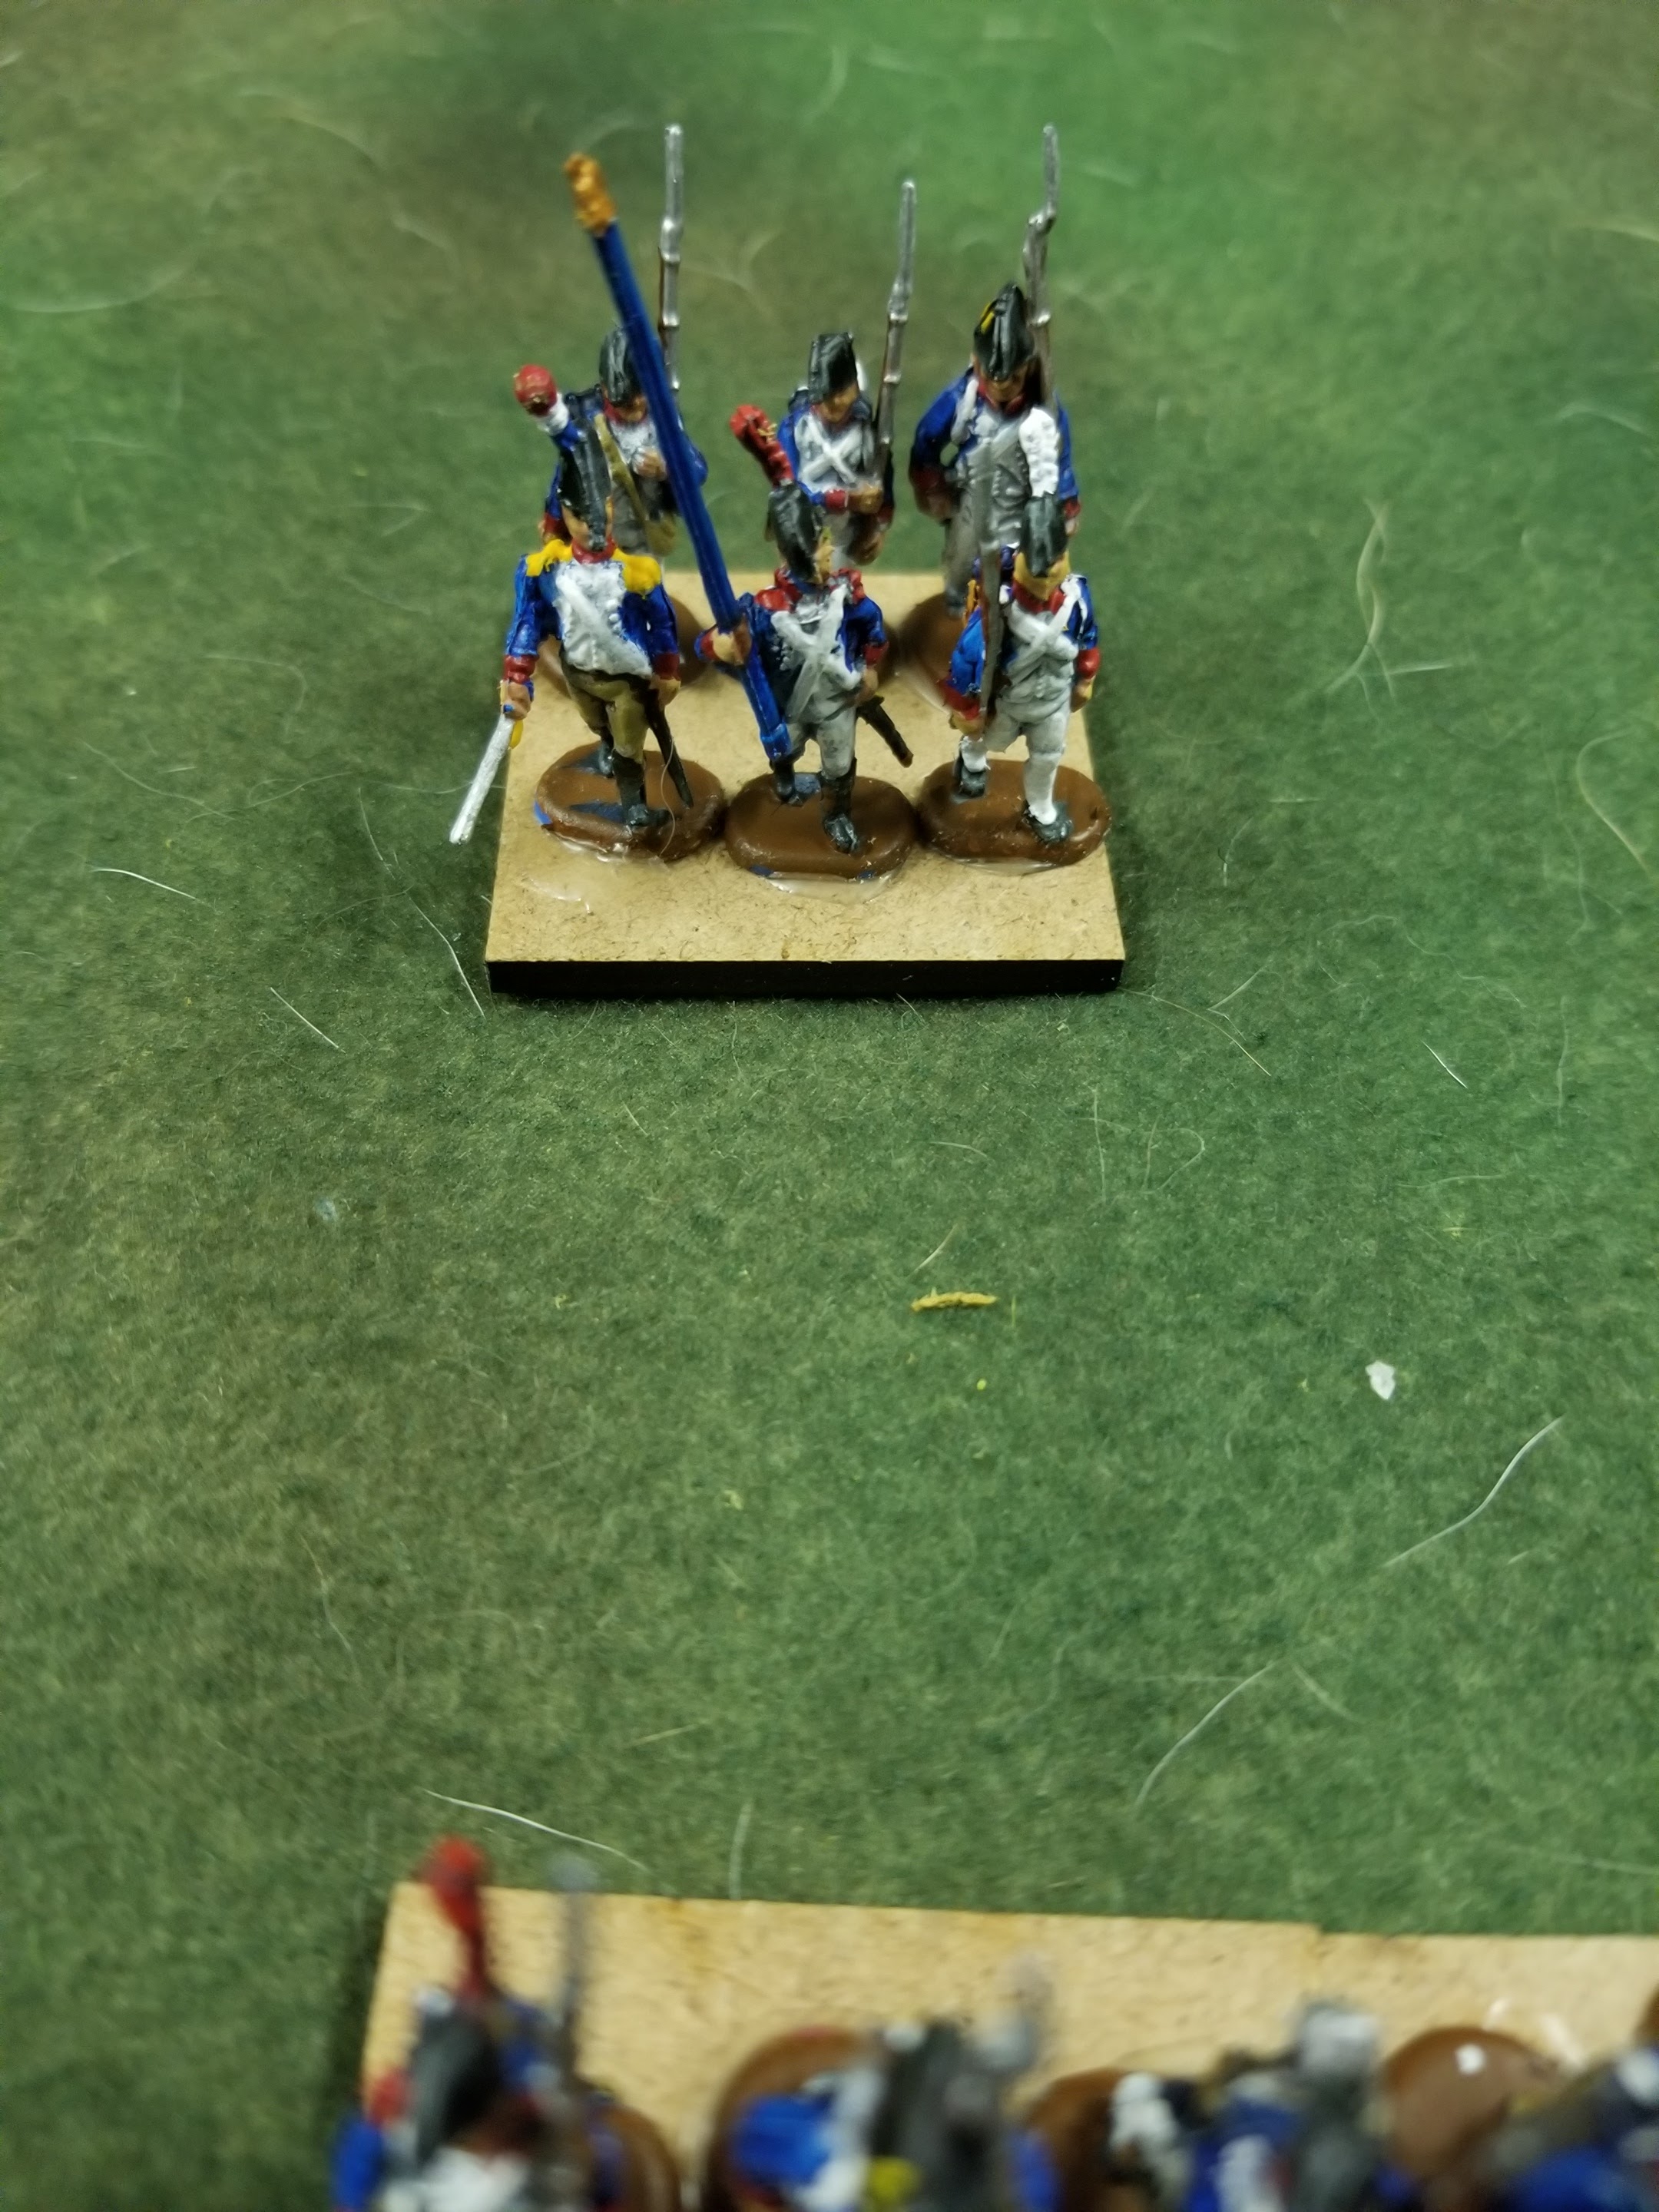
The Infantry are a mix of wearing great coats and standard uniform. This would reflect a mix of regulars and conscripts through each unit. From what I have read there were one battalion of regulars and 2 battalions of conscripts in each regiment at the start of the Italian campaign.


The artillery looks better than I thought they would and are bigger than expected.

Next purchase
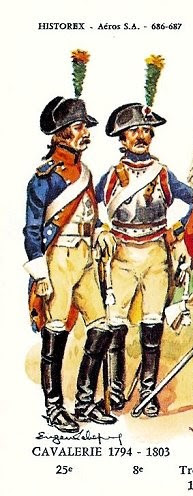
I have found heavy cavalry (Italeri Prussian Cuirassiers Set 6007) that can be used for French Cuirrasiers and Marengo. I will look for them at Historicon. Early French Cavalry had the bicorns from what I could find in research.


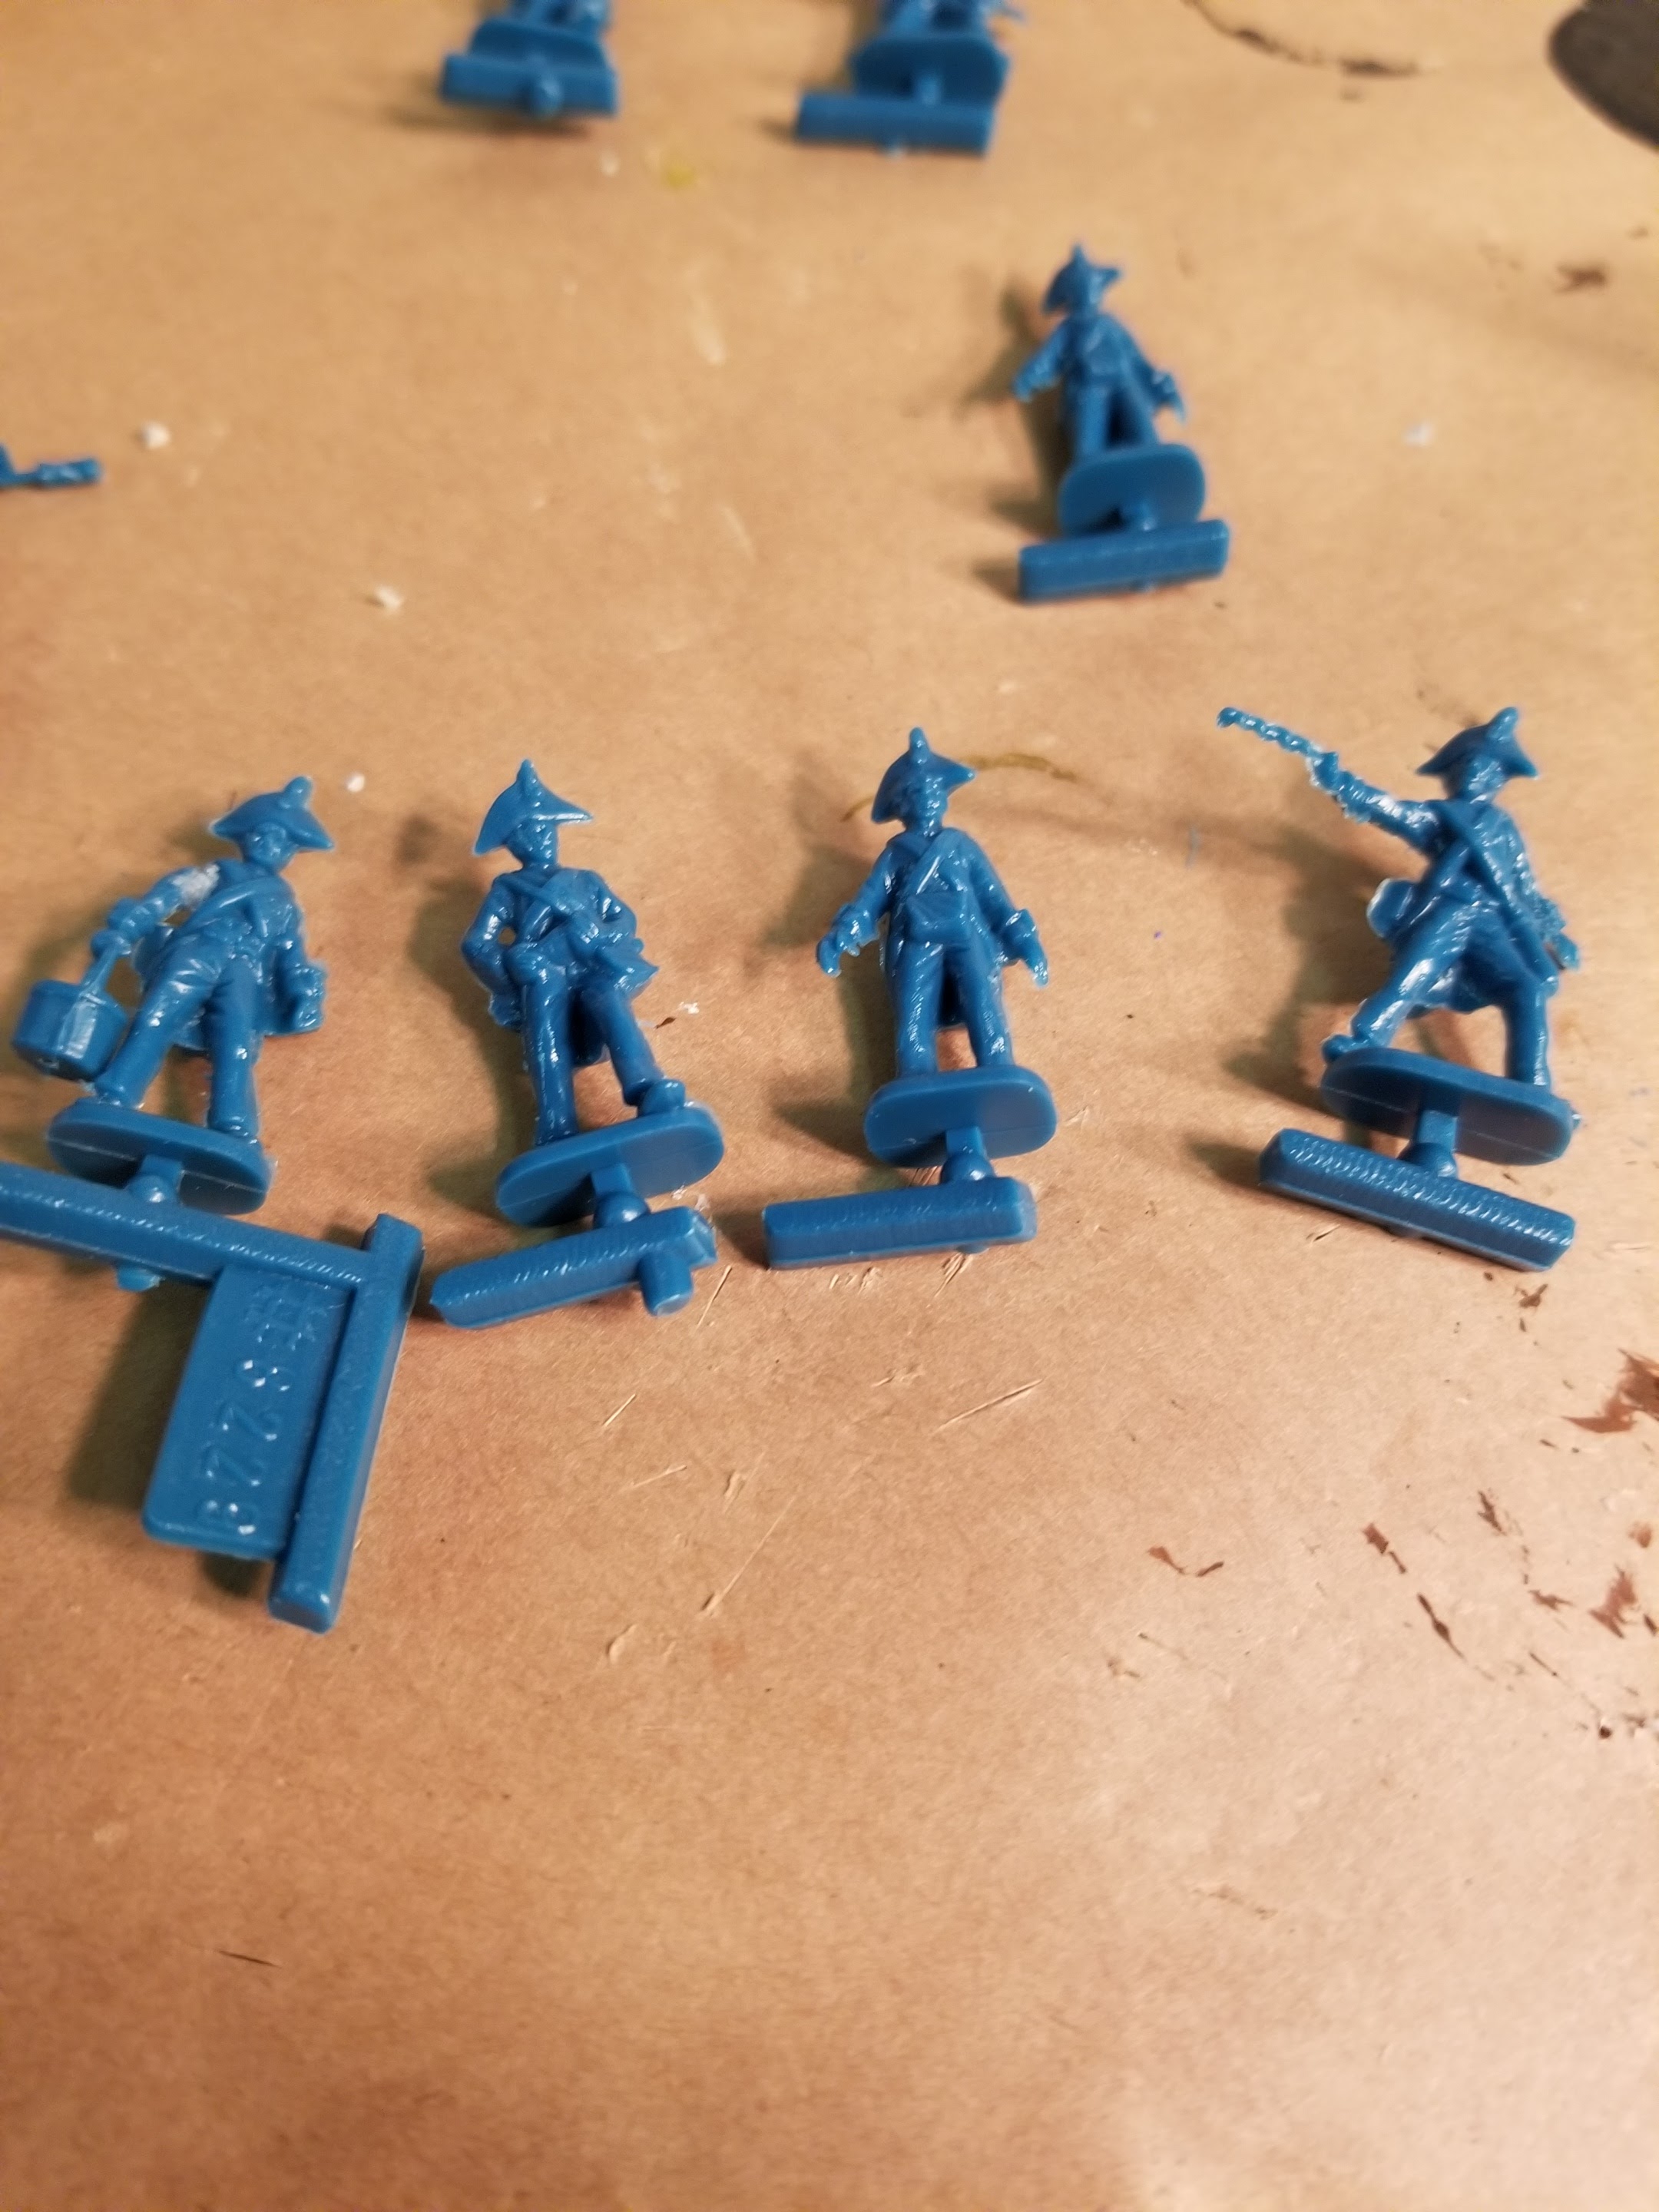
I like the packaging. The figures are sculpted very well and there is some excess flash to remove. The soft plastic cuts easy so you need to be very careful removing any excess. On figure requires assembly to add variety to each gun crew.


I will be keeping track of total costs and will post a sheet later. This project will take a long time, I feel better about using the less expensive 1/72 figures now that inflation and gas prices are hurting my wallet and my 401K is tanking, Besides I like collecting them.
Figure Cost
HaT 8297 French Command Box $6.99
HaT 8296 Early French Marching $6.99
HaT 8062 French Line 1805. $8.99
HaT 8229 French Artillery 1805. $8.99
40mm x 40mm bases x 100 $18.50
Project cost to date. $61.86
I received the Speedpaints and started on the figures. I used Highlord Blue which works great with a white undercoat.

The White Speedpaint isn't necessary with the gray primer and white dry brush. I am using white primer on the next batch to see which method is better.


Rules : Muskets and Mohawks (2 Hour Wargames)
Figures: 18mm Blue Moon
The Rules are a skirmish level horse and Musket with a built in reaction system that also has rules for unknown units or Possible Enemy Forces (PEFs)
My son and I did 3 turns to test out the unit sizes, positioning, flow of rules and table lay out.
I need to develop or find Quick Reference Sheets or Players Aids as we were constantly searching for charts, available actions, firing ranges, involuntary movement definitions, etc. I had to forget what I knew about chain reaction and approach these rules as a different set. Reactions are not as plentiful from movement as they are in the other sets from the company.
I decided to use an off board set up for the British forces and have them enter. I wanted to recreate the ambush of militia against the British. I need to give more room for entry and on table set up or move back the ambush points. The British were bottle necked too much on entry. I also need to add hidden units for some of the militia. The PEF rules will help hide actual forces and give the Dragoons something to recon in the opening moves.


The Jaegers marched in unformed formations making them harder to hit but they lose the ability to volley fire. They suffered few casualties and were unable to close the charge to clear the militia (again my very bad rolling).


The colonial regulars enjoyed open space and were able to march unimpeded (even Double time) as they were more than 24"away from enemy units. General Maxwell was moving into position very quickly as the Americans won initiative each turn. As you only get one action per tur you are very concerned about getting stuck in a vulnerable position which is why I really like these rules.

The militia volley cleared the Hessians as I focused too much on charging. I should have fired but in these rules, if you don't reload after firing, you can't move. It cost an action to reload, after which you have to wait until next active to do something else. You have to focus on movement or firing so as I had to keep moving I wanted to keep firing at a minimum.

Failing to close the charge meant the Jaegers stayed pinned against the board edge reinforcing the need to give the British more room and keep the game manageable. Units retire a full move so I need to move the action inward to the center another 10 inches.

While units do receive some casualties from fire they are more likely to move after losing a figure or two. I brought the British light infantry on the table on turn 3. The Jaegers were barely moving and were getting outnumbered. I may break up the militia into 5 man units as well to make them a bit more fragile on the next playtest. They were taking hits but repulsing charges too many times which didn't feel right, but I was getting out rolled as well. The British light infantry was also repulsed by a stubborn militia unit.

The Jagers rallied and formed line and released a volley that finally sent the militia running. I finally gave up on punching through with melee.

I also brought in 2 Grasshopper guns (3 lb guns) and more Jaegers to clear the militia from the woods. The militia units all did a great job in standing against the British charges. I needed to outnumber the target unit 2 to one to get bonus dice to use in fire combat.

What I need to do to playtest again is
1. Get a quick reference sheet printed.
2. Give the British a bit more room to move, the 18 inch musket range means I can move back the colonials and still achieve the ambush effect that kicked off the battle
3. Use hidden PEF placement and give the Dragoons a recon range of 12" to find hidden units using cover (infantry has a 6" range). PEF's can move about the board until discovered.
4. The British had infantry columns close behind (Howe was marching the entire Army North) so random reinforcements are not required. Decide on what turns the Artillery and light infantry enter.
6. Move the game away from the table edges.
7. Try 5 figure militia units instead of 10. Perhaps add random reinforcements for militia to appear randomly.
8. Give Hessian Jaegers a charge bonus as they preferred to melee with their hunting swords to clear militia in this battle.
As for the rules they do everything I need them to do and are simple; they just need organized. Units are not likely to be wiped out by volley fire, they are more likely to move away. I lost 1 or 2 figures per volley. I think a few more test runs are needed. I may even develop a mini campaign as Colonial Dragoons skirmished and were out gathering Intel on British movements in and around Elkton when Howe landed.
As I watch my 401K fall into oblivion, I am glad I went with the cheaper plastic kits. They are really looking good, but the assembly is driving me toward a therapy session. HaT did great with the kits as the quality is really improved. The rifles are painted for the test unit. I used Citadel Morningfang Brown, who the hell names these paints. The paint covered well.


I then painted the plumes on the Grenadiers. I am staying with red as Voltiguers were not available this early in the period. I used Citadel Flesh Tearer red contrast paint. The red is a bit darker than I like so I need to hi-light which I wanted to avoid. I hope the red can also be used for the piping and cuffs but I don't know if the paint can do it without bleeding into other parts of the figure. The Contrast paint may be too thin for trim work,

I did use Citadel steel paint for the barrels and will use Nuln oil to give depth. If it seems like I have a lot of Citadel I do, as my son used to play 40K. Since my order form Miniature Market did not arrive I am now working on assembling the command figures, then dry brush after a gray primer coat. It took way too long to assemble. The soft plastic was difficult to assemble and some of the pegs on the figures were a bit too long for them arm to fit, especially on the standard bearer. I have never hated a figure as much as I hate this one.

I took off the peg on the body and glued the arm with flagpole direct on. It was so difficult I was thinking of buying on in metal. The heads also had problems staying on the body. It was an enormous pain in the ass. I have 3 more to do so maybe it will work out.

The detail on the command kit is really good for the money. The downside is the assembly as the plastic doesn't want to hold. Superglue alone is nor sufficient. I am looking to get glue specifically made for plastics from Loctite on my next trip to Lowes.